
2023 New Journal: Burgundy & Pink Floral Theme
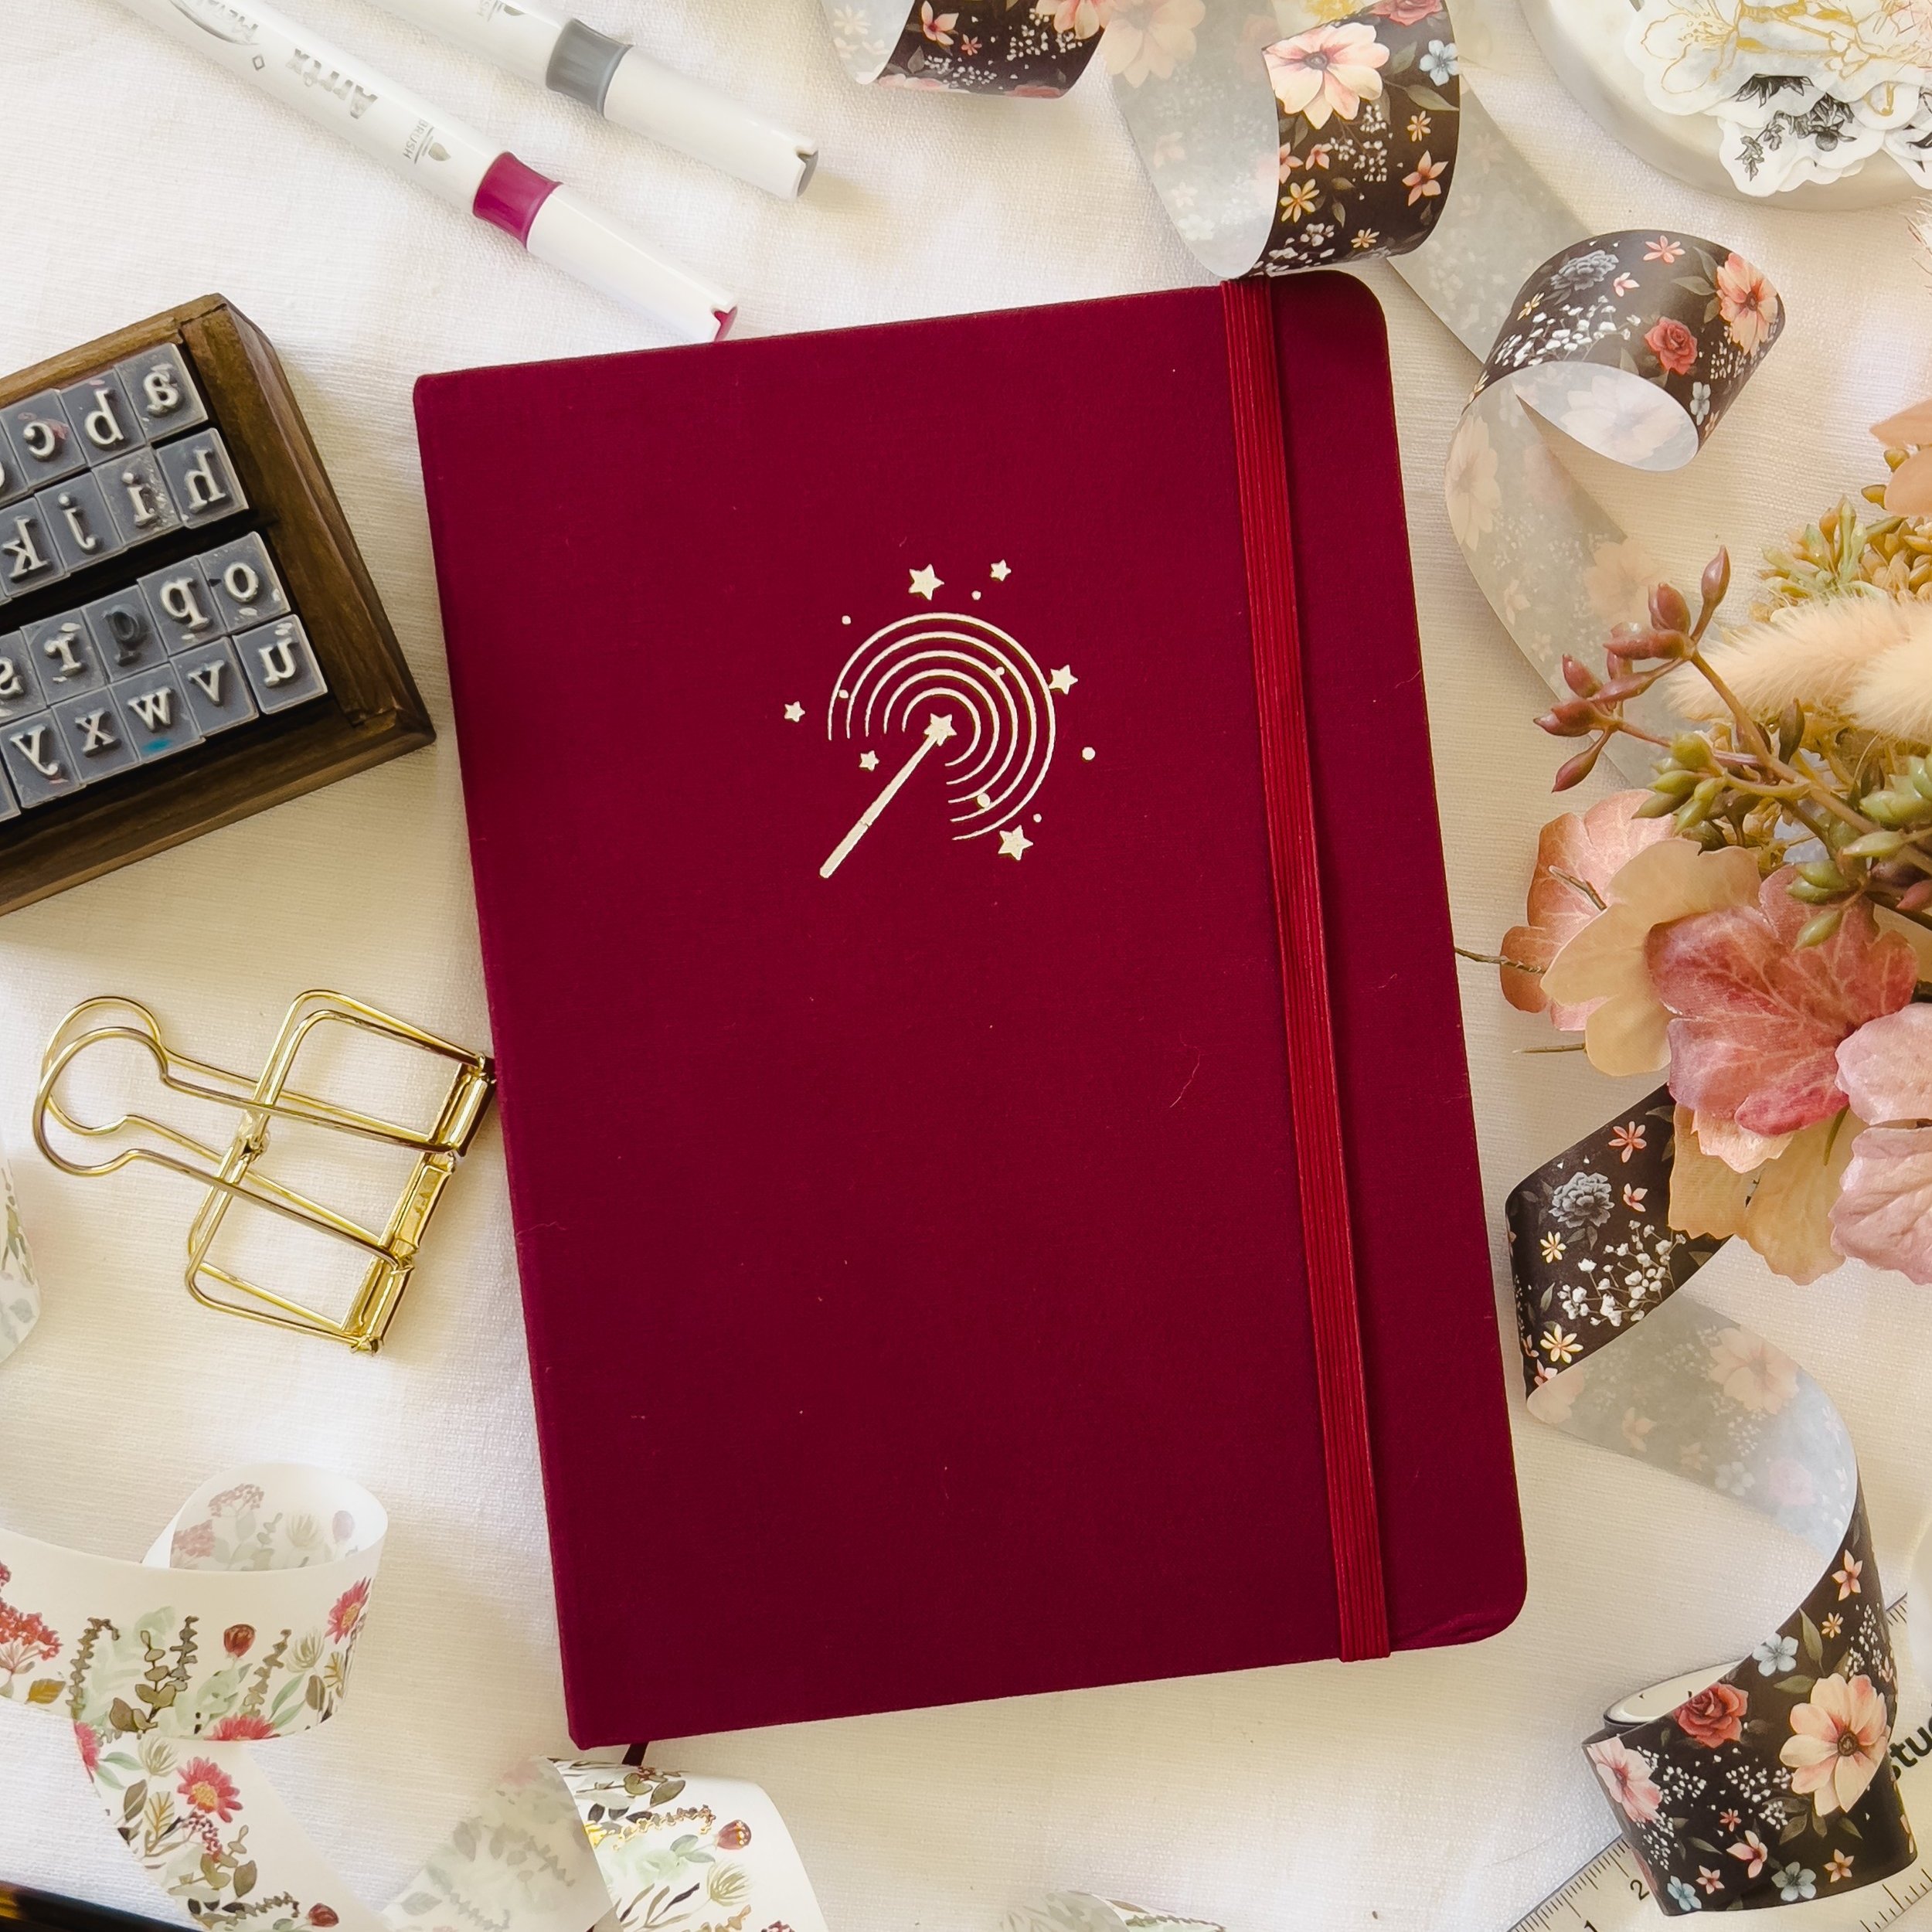
Happy new journal! I absolutely love starting a fresh notebook, and my 2023 journal is SO pretty! It’s from Sassy Pigeon HQ (mine is the wand crimson version) and I’m so excited to be supporting an Aussie bujo brand for my first book in 2023! Bek from Sassy Pigeon HQ very kindly gifted me this journal. Thanks Bek!
I wanted to match my first theme inside with the cover of the journal, which is this lovely burgundy. I’m not usually a red-loving kind of girl, but when it’s got a lovely blue undertone like this I’m all about it!
For my fellow notebook nerds, this journal is an A5 sized book, with 160 pages of 160 GSM paper, bright white pages, and a 5mm dot grid inside with nice small, subtle dots. So far I’m absolutely loving using it!
Check out my Plan With Me video below to see how I used this cutie, or keep scrolling to see photos of each spread.
Grid Spacing Ruler/Bookmark and Pouch
I borrowed the genius idea of a grid spacing bookmark from the wonderful Tracy Tyler Revell - and I’m already obsessed. I can’t see myself ever going back to a grid spacing page after this - being able to line up the bookmark with the dots on each page makes setting up a new idea SO much easier, and I feel like I’ll never need to count spaces again!
I cut the last page out of my notebook with a craft knife and a metal ruler, trimmed it down to be long and narrow, and added the numbers in each space for both the vertical and horizontal measurements of my page. On the other side I added colour coded references for dividing the page into halves and thirds, since they’re my most commonly used divisions. Then I tucked it into a pouch I made with origami paper, scrapbooking paper and washi tape on the very first page of my book so I always know where to find it.


2023 Cover Spread
I don’t always want to spend two whole pages on a cover, but I make exceptions for the beginning of a new year. I’ve used Tombow dual brush pens for the florals along with a couple of gold washi stickers, watercolour for the “2023” lettering, and lower case letter stamps with a silver paint pen. All the links to my supplies are at the bottom of this post!
A little of my brush pen from a future spread is peeking through in the centre seam of this page - it doesn’t bother me, but if it would bother you, it might be a good idea to avoid adding pen or watercolour across the centre of a spread!


Future Log Spread
Confession time: I don’t actually turn back to my future log all that often. I use Google Calendar to keep track of my long-term events and dates, so when I’m setting up a new month I usually just reference from my phone. I often don’t even remember to add to my future log as I book things throughout the year! But my journal doesn’t feel complete without one, so I always like including a future log spread. I like keeping it to one spread, since I don’t really need a lot of space for planning.


Content Planner Spreads
Unlike the future log, my content planner spread is one I go back to a LOT! I use this to plan out my Youtube content ahead of time so I have a plan for the year - although it does change a lot as time passes! I’ve included photos below of the first spread - there’s a second one just like it in my book too, for July to December. You can watch the video at the top of this post if you’d like to see it!
It’s likely I’ll end up copying the plans from the second spread into my second journal for the year, but I like having it ready in this book too so I can think about Halloween and Christmas well ahead of time!


Memories Spreads
These are a new one for me! I got myself a secondhand HP Sprocket printer on Facebook Marketplace recently - mainly because I want to print my holiday photos for my travel journal when I’m away in January and February! But I remembered seeing spreads like this in Amanda Rach Lee’s setups in the past and I thought, since I have an easy way to print photos now, why not try it in my own journal?
At the end of each month I’ll print a photo that feel sums up the month. I can’t wait to look back over it at the end of the year! I’ve only added photos of the first spread below, but I have a second one for July to December in there too. You can see it in the video at the top of this post if you like!


Cashflow Tracker Spread
It might not sound exciting, but my cashflow tracker spread is actually one of my favourites to fill out throughout the year! Call me crazy, but I love a good spreadsheet - and this is almost like a spreadsheet in my bullet journal.
Each month I track my spending on a page in my monthly journal setup, and at the end of the month I record my total spend on all the categories you see in the table below. I also track my income, and where my savings and investments are at. It’s really satisfying, especially at the end of the year when it’s all finished!


Goals Page & “Then & Now” Page
New year, new goals - it just makes sense! I like setting goals at the beginning of the year. I try to make some of them a bit ambitious, and some of them a bit achievable, so I can have the satisfaction of crossing the easier ones off sooner, while pushing myself to reach the loftier ones!
My “then and now” page is completely copied from the lovely Jashii Corrin - I love the idea of a snapshot of yourself at each end of the year! It’s a fun list of favourites and aspirations which I’ll fill out in early January on the left side, and late December on the right.


Pen Swatch Spread
Do I absolutely need a pen swatch spread in my journal? Probably not, but I do love having it! Often when I’m planning a new theme, I base it around a particular washi tape or sticker set. Having all my pens swatched in one place makes it easy to choose coordinating colours - and having a photo of this spread on my phone helps when I’m buying new pens too, so I avoid double-ups! I’ve left space on the Tombows side so I can add to it as my collection expands.
I like adding this page again for each new journal that I start, since pens can sometimes look different on different paper types. If you didn’t want to add it to your initial pages in your book, you can always sneak it into the back of your book instead!


Everything I Used to Make This Set Up:
Please note: some of the below links are affiliate links. If you use these links to make a purchase I may make a small commission, at no extra cost to you.
*gifted
The Washi Tape Shop Academia washi tape set *
The Washi Tape Shop Fragrance washi tape set *
Solid colour origami paper set from Daiso Australia (in store only)